
Guides
Step-by-step BEAR beginner guides and walkthroughs: round structure, survivor objectives, flashlight discipline and the fastest way to learn the 1 vs All flow.
Introduction
The Guides hub is the fastest way to learn BEAR (Alpha) from the ground up. Whether you just spawned into your first lobby or you have already played a hundred rounds, the walkthroughs and starter articles in this section explain the 1 vs All survival horror flow: how a match is structured, what survivors must repair before the exit opens and why the Monstrosity behaves the way it does. We route every guide by player goal — surviving your first night, mastering the flashlight, collecting badges or chasing treasure quests — so you can jump straight to the topic that matters and then return when the next update changes the meta.
Guide Types Quick Reference
| Guide Type | Focus | Best For |
|---|---|---|
| Beginner / How to Play | Round structure, survivor objectives, first-night survival | New players in the first few matches |
| Survivor Strategy | Stamina economy, juking, line-of-sight breaks | Players who keep getting caught early |
| Monstrosity Playbook | Patrol pressure, splitting the lobby, momentum | Hunters learning closed-round pacing |
| Quests & Badges | Treasure quest routes, badge unlock orders | Completionists and collectors |
Core Topics
Beginner Flow
First-match checklist from lobby to first escape
Survivor Fundamentals
Stamina, flashlight and line-of-sight basics that keep you alive
Monstrosity Basics
The hunter side read: speed, stamina and patrol logic
Quest & Badge Routes
Combining treasure quests and badge hunting into clean round plans
Core Mechanics
BEAR progression is driven entirely by round knowledge rather than a summoning or leveling loop. A round opens with one player selected as the Monstrosity, a creature that cannot be damaged, runs faster than walking pace and never tires, while every other player spawns as a survivor. Survivors must complete repair or puzzle objectives and then escape the map before the timer expires. The survivor side lives or dies by stamina management, line-of-sight breaks and flashlight stalls, while the hunter side wins by patrol pressure and splitting the team. Permanent damage carries over within a match, so even a single caught survivor changes how the rest of the round is played.
Advantages
Following the Guides hub shortens your learning curve dramatically. Instead of dying repeatedly to the same stamina and flashlight mistakes, you can study the exact round structure, repair priorities and escape routes that the community keeps confirming across hundreds of matches. Because BEAR is asymmetric, the same guide reviewed from both sides — survivor objectives and Monstrosity patrol routines — gives you twice the value from a single play session. Guides also track the seasonal rotations: event maps like The Hollow, deluxe cosmetic drops and badge windows, so you always know what to practice before those rewards expire, and you can plan exactly when to farm the next event window.
Challenges
BEAR changes fast, and guides can fall behind a new update for a short window while editors verify the latest numbers and map layouts. Community-reported details like stamina drain, flashlight duration and Monstrosity speed are consistent across reports but are not official patch data, so they should be treated as strong player knowledge rather than developer-level certainty. Event content also rotates, which means a guide written for an old seasonal map can become partially outdated until the wiki refreshes it. Reading the most recent article in each category is the safest way to avoid acting on stale positioning. If you spot a discrepancy, open the newest tracker article and confirm the current rotation before committing to a route.
Frequently Asked Questions
What should I do first in a BEAR (Alpha) match?+
Is BEAR (Alpha) playable for free?+
How do I get strong fast in BEAR?+
Do BEAR guides stay accurate after updates?+
Quick Tips
Always memorize at least one repair route before the round starts. Spawn, note where the objective markers appear, then trace a loop from the nearest repair point to a solid piece of cover and finally to the exit. When the Monstrosity spawns, you can run that route blindly instead of improvising in panic. Rehearse the same loop across several rounds until the positions are automatic, because the twenty seconds you save on every objective are the difference between escaping with your team and watching the last exit close.
Treat the flashlight as a stall tool, not a lamp. In BEAR, shining the beam at the Monstrosity buys you a short stun window that resets the chase, so burning it on open hallways leaves you defenseless when the real threat arrives. Keep the beam off between encounters, recharge at the safe boxes when the map allows, and only light the monster when it has committed to the chase. Players who follow this discipline stun more hunts per match and keep the skill on cooldown far less often than players who use it as a light source.
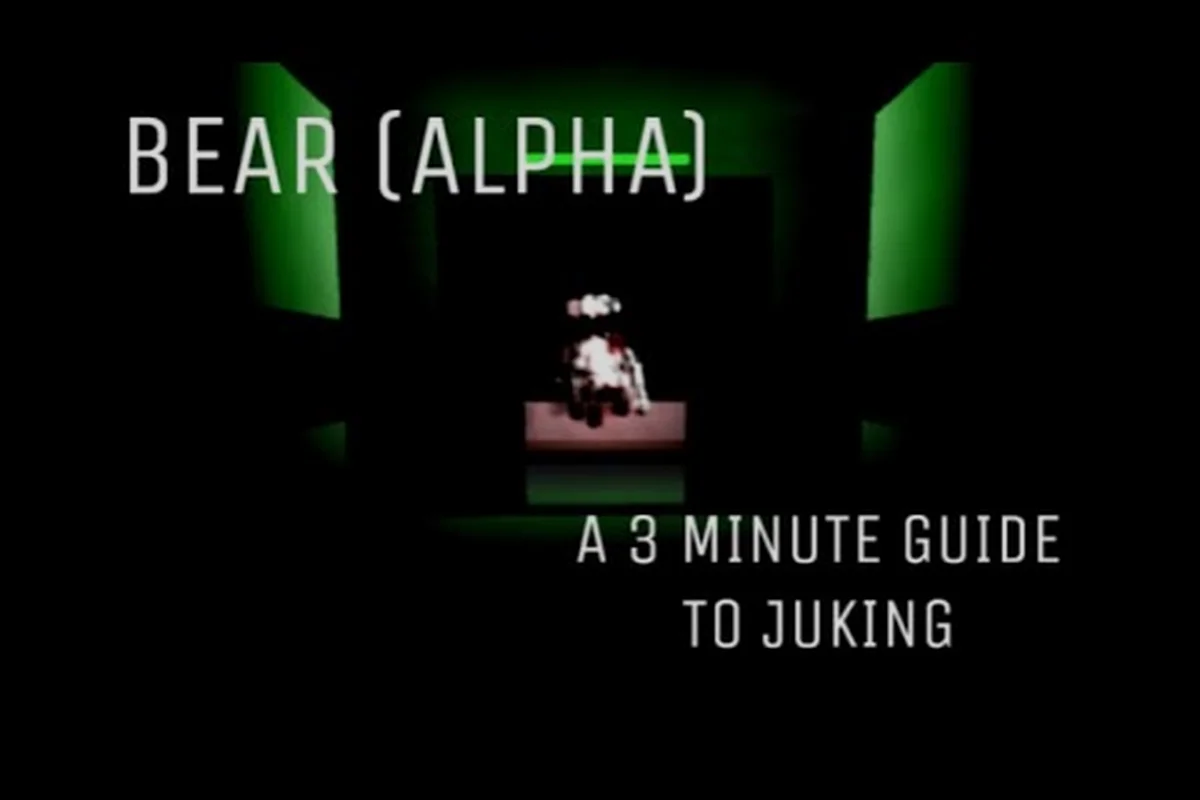
Never sprint to open ground when the chase starts. The Monstrosity is faster than walking pace and never runs out of stamina, so a straight line almost always ends in a catch. Instead, juke through doors, break line of sight through chokepoints and loop back through areas you already cleared. One well-timed line-of-sight break resets the bear's tracking and lets you hide long enough for the heat to pass. Coordinate with teammates on voice or chat so your juke drops you into a doorway another survivor has already opened.
Featured
BEAR bear alpha for beginners: essential survival basics
Start confidently with bear alpha for beginners by learning movement, survival habits, The Hollow quest, and early rewards that support steady progress.
BEAR bear alpha guide: Complete First Objectives and Earn Rewards
Start with the bear alpha guide to learn early objectives, movement basics, survival tactics, and ways to earn valuable first-match rewards.
BEAR bear alpha how to survive every major chase
Learn bear alpha how to survive threats such as Tears Before Bedtime with practical tactics for dodging, hiding, and escaping safely.
All Articles
BEAR bear alpha beginner guide: Survive the First Night
Start with the bear alpha beginner guide and learn movement, stamina, objective priorities, hiding tactics, and first-night survival basics.

BEAR bear alpha cheat sheet for controls and quick reference
Keep this bear alpha cheat sheet handy for controls, quest steps, chase tactics, event rewards, and common early-game mistakes.

BEAR bear alpha complete guide: Master Every Core System
Master the bear alpha complete guide with practical strategies for objectives, combat, exploration, rewards, and your first ten matches.
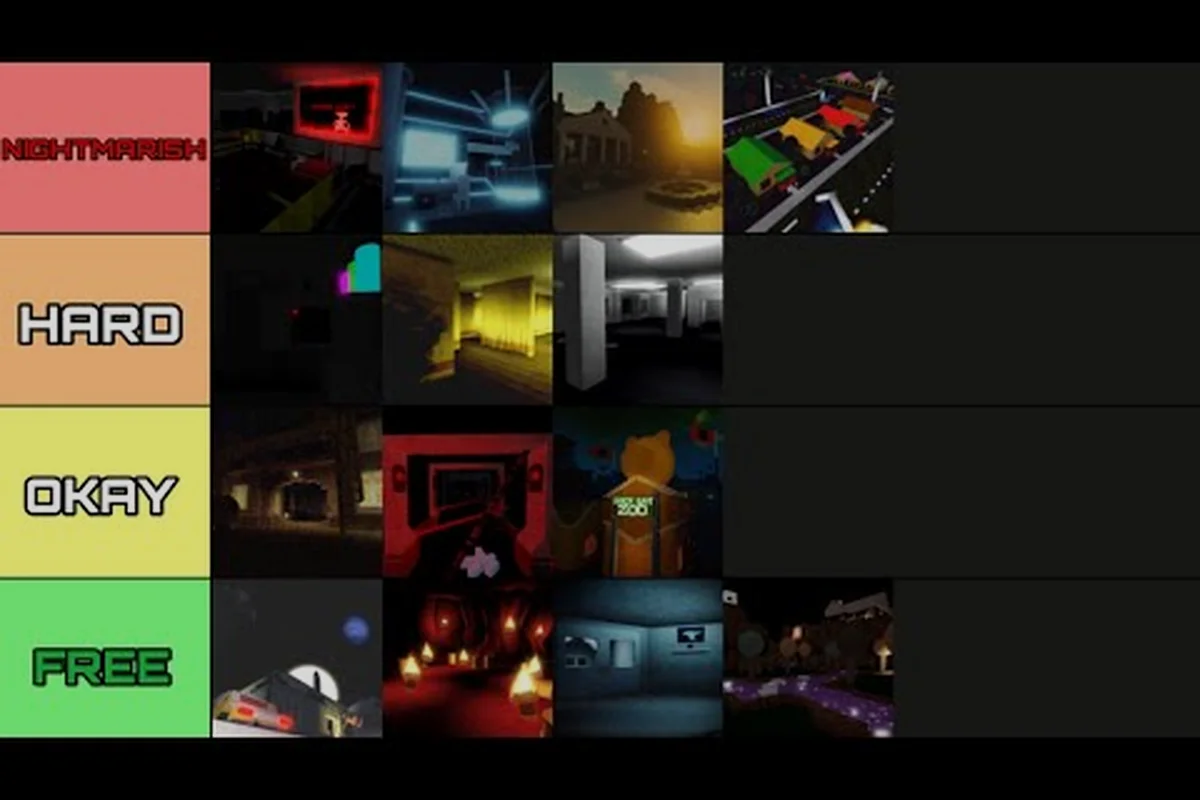
BEAR bear alpha difficulty guide: Safest Maps for New Players
Compare maps with the bear alpha difficulty guide, using route risks, threat levels, puzzle complexity, and map size to choose wisely.

BEAR bear alpha lobby guide: Find Rewards and Hidden Menus
Explore the bear alpha lobby guide to uncover hidden menus, overlooked features, event rewards, and shortcuts players often miss.
BEAR bear alpha returning player guide: Catch Up on Rewards
Use the bear alpha returning player guide to refresh your setup, farm returning Halloween badges, maximize candy, and claim rewards.
BEAR bear alpha settings guide for smoother survival
Optimize your bear alpha settings guide with practical mobile and solo setup tips that improve visibility, control, and reaction time.